Discover how to make traditional Japanese Onigiri – triangular rice balls with nori and delicious fillings, perfect for a snack or a lunch box.
Onigiri:
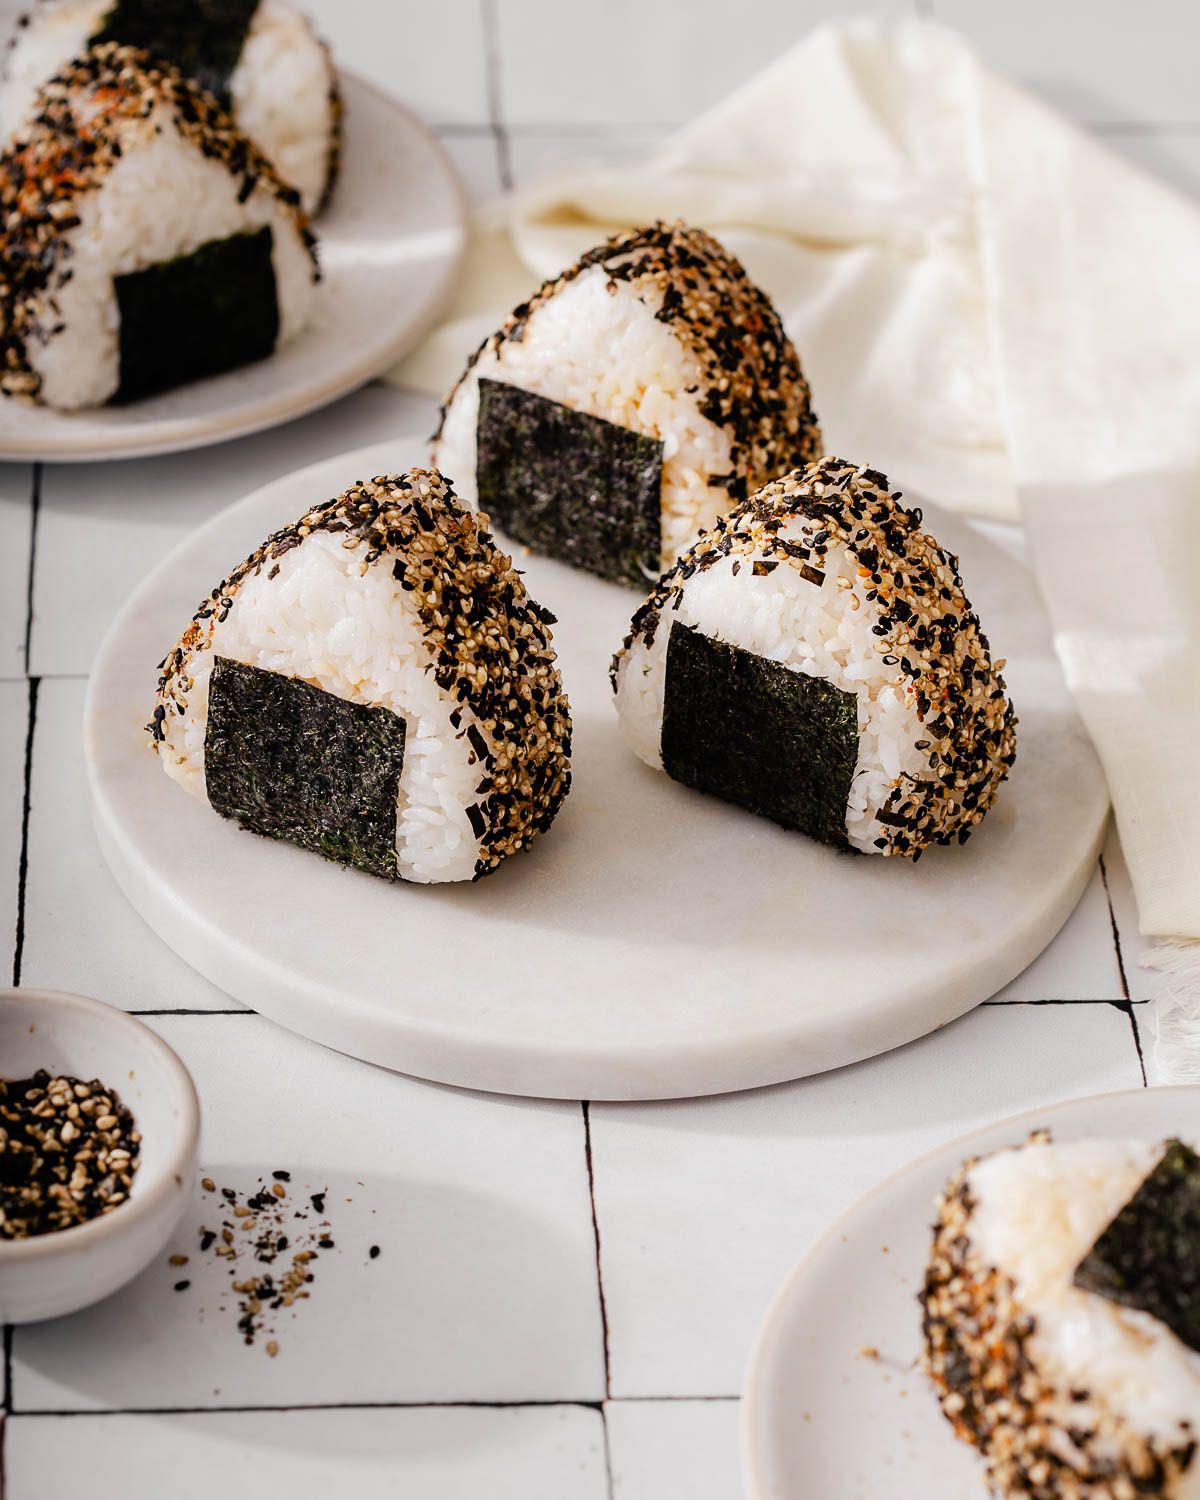
Onigiri or Omusubi is one of Japan’s most beloved snacks. These are rice balls or triangles, often wrapped in nori seaweed and filled with savory ingredients. They are ideal for bento boxes, picnics, or a quick and satisfying snack. Below you will find detailed, step-by-step instructions to make authentic onigiri at home with fluffy rice and rich flavor.
Prepare the Rice
- Washing: Proper washing is key for fluffy, sticky rice that isn’t mushy. Place the rice in a large bowl and fill with cold water. Stir gently with your fingers and discard the cloudy water. Repeat 3–4 times until the water runs almost clear. Drain well.
- Soaking: After washing, let the rice soak in the measured water for 30 minutes. This helps the grains absorb moisture and cook evenly.
- Cooking: Place the rice and water in a pot with a tight-fitting lid. Bring to a boil over medium heat, then reduce to the lowest setting and simmer for 15 minutes without lifting the lid.
- Resting: Turn off the heat and let the rice sit, covered, for 10 minutes. This allows the steam to finish the cooking and settle the texture.
Shaping the Onigiri
- Hand Prep: Fill a small bowl with cold water and dissolve ½ tsp of salt. Lightly wet your palms with this salted water to prevent sticking and to season the exterior of the rice.
- Forming the Base: Take a handful (approx. 80–100g) of lukewarm rice and create a small well in the center with your thumb.
- Adding Filling: Place 1–2 tsp of your chosen filling in the well. Do not overfill, or the onigiri won’t hold its shape.
- Sealing: Cover the filling with a little more rice and press gently with your palms to form a triangle, circle, or oval. Use enough pressure to hold it together, but don’t pack it so hard that it becomes dense.
Adding Nori
- Wrap a small piece of nori around the base or middle. For crunchy nori, add it just before eating. For softer nori, wrap it earlier so it absorbs moisture from the rice.
- Nori not only adds flavor, but also acts as a ‘handle’ to keep the rice from sticking to your fingers.
- If you want crispy nori, add it just before eating. If you prefer it softer, wrap it earlier so it can absorb a little moisture from the rice.
Success Tips
- Rice Temp: The rice should be warm-to-lukewarm when shaping so the grains stick together.
- Hand moisture: Don’t wet them too much—just enough so the rice doesn’t stick.
- Storage: Best enjoyed the same day. If keeping for 6–8 hours, wrap in plastic wrap and keep at room temperature. Refrigerating makes the rice go hard.
- Variations: Try fusion fillings like feta and olives, grilled chicken, or even bacon and scrambled eggs.
Serving
- Onigiri are flexible:
- Breakfast with Miso Soup.
- In a bento box for work or school.
- As a snack.
- Combine it iwth japanese pickles (tsukemono), edamame, wasabi, ginger or with a fresh cucumber salad.
Extra Tips & Alternatives:
- For a healthier version: You can use a mix of white and brown rice, although the brown rice won’t stick as well as traditional sushi rice.
- For kid-friendly onigiri: Use smaller rice portions, fill with cream cheese or pieces of omelette, and cut the nori into cute shapes (e.g., stars).
- For a party or buffet: Make a variety of flavors and color the rice with natural ingredients, such as matcha powder for green or paprika for red.
- For longer storage: If you want to eat them the next day, wrap them well in plastic wrap and lightly steam them to restore their texture.
With these little tips, your onigiri will be not only authentic but also tailored to your own needs and tastes.